How to create a BeefWatch newsletter in MailChimp
1. Login to MailChimp
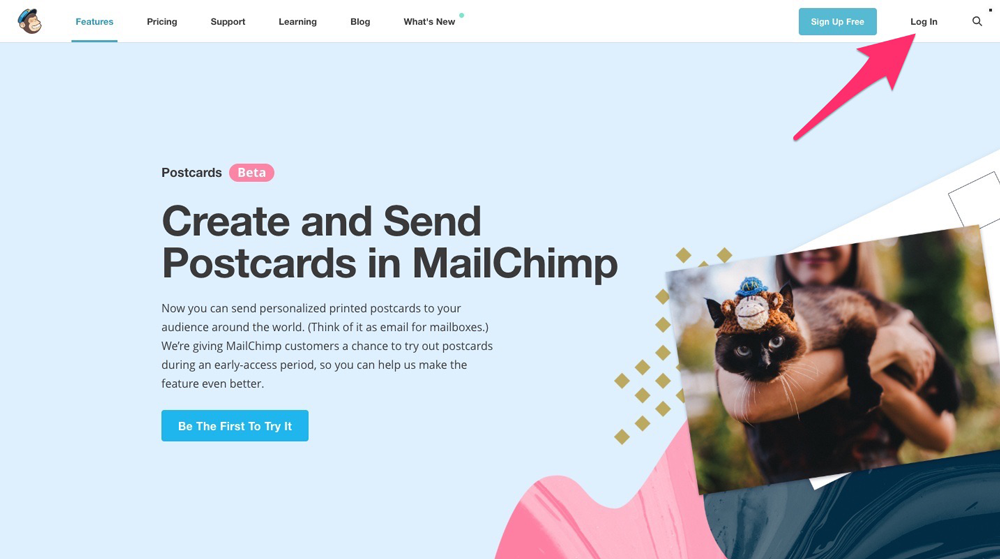
Go to the MailChimp and click the "Log In" link at the top.
2. Create a new campaign
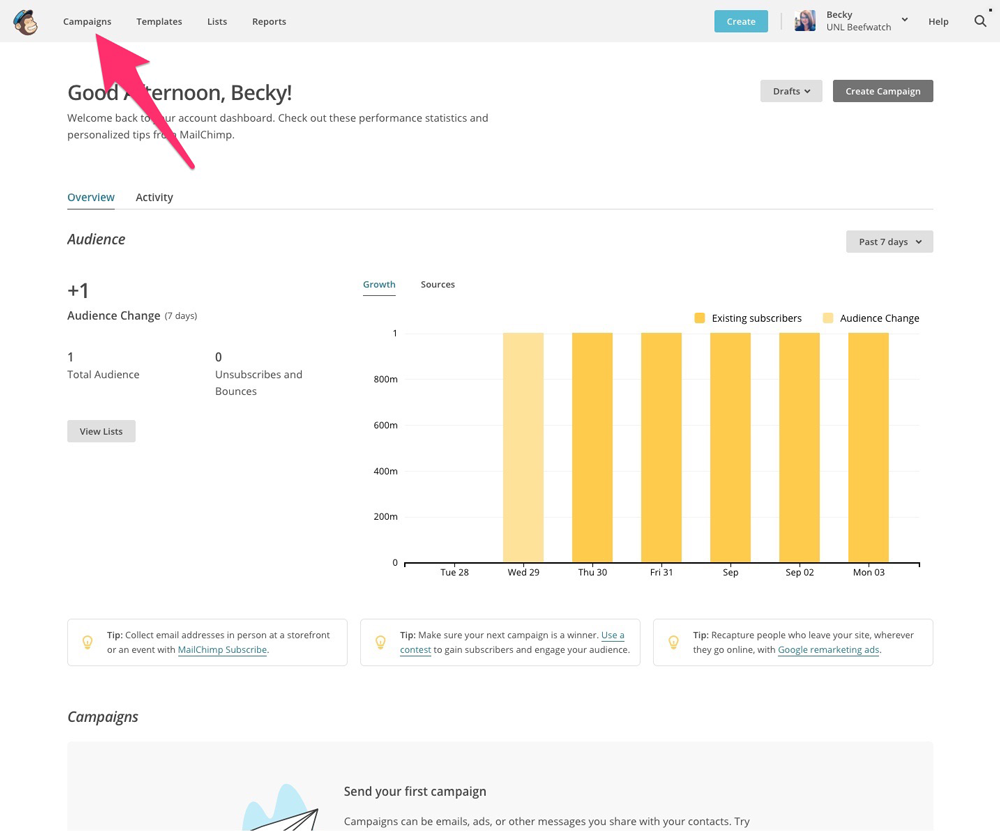
Once you are logged in, click the "Campaigns" link in the top left hand corner.
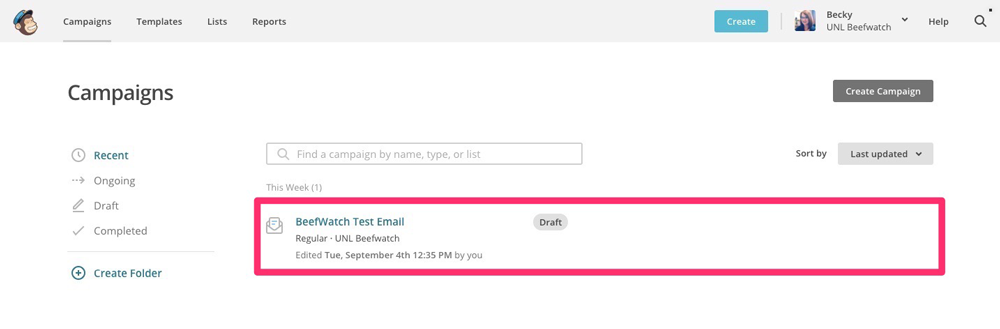
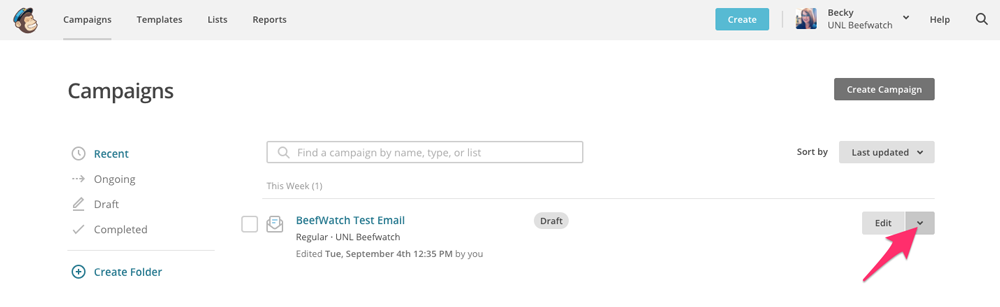
Hover over an existing campaign in the list. An edit button with an arrow to the right will appear.
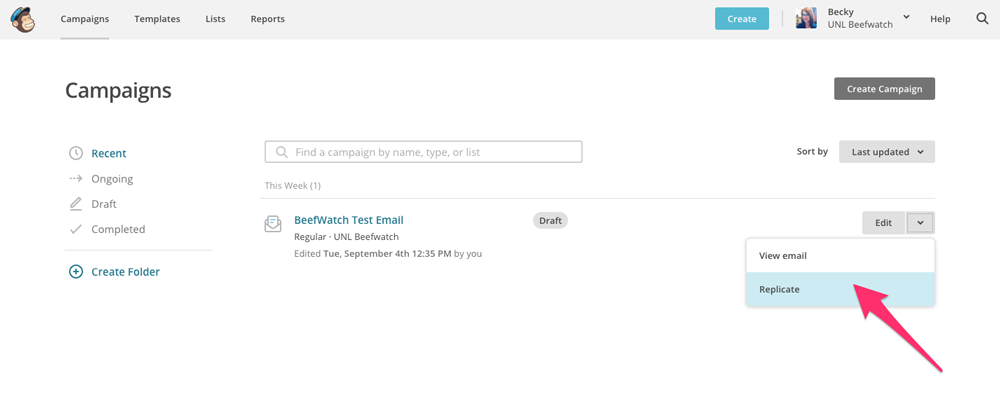
Click the arrow to expand the options, then click "Replicate"
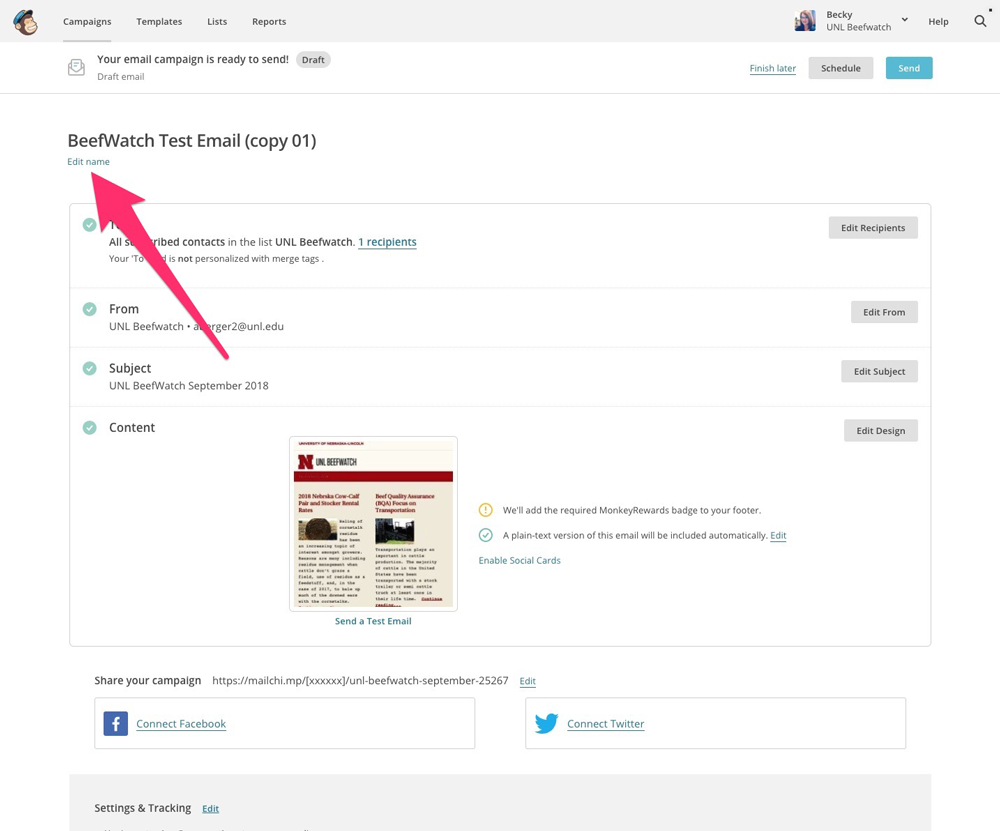
On the next screen, click "Edit Name"
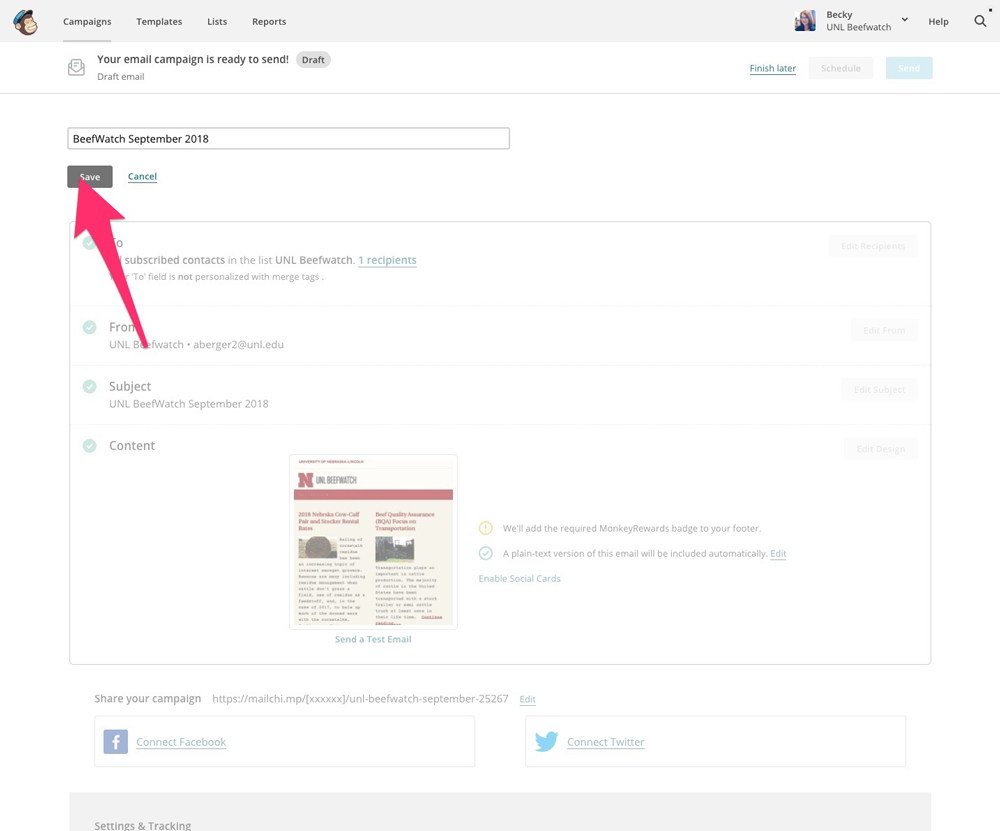
Add a name that will help you keep track of the newsletter. It will not be seen anywhere by the public in the email. When you are done, click "Save"
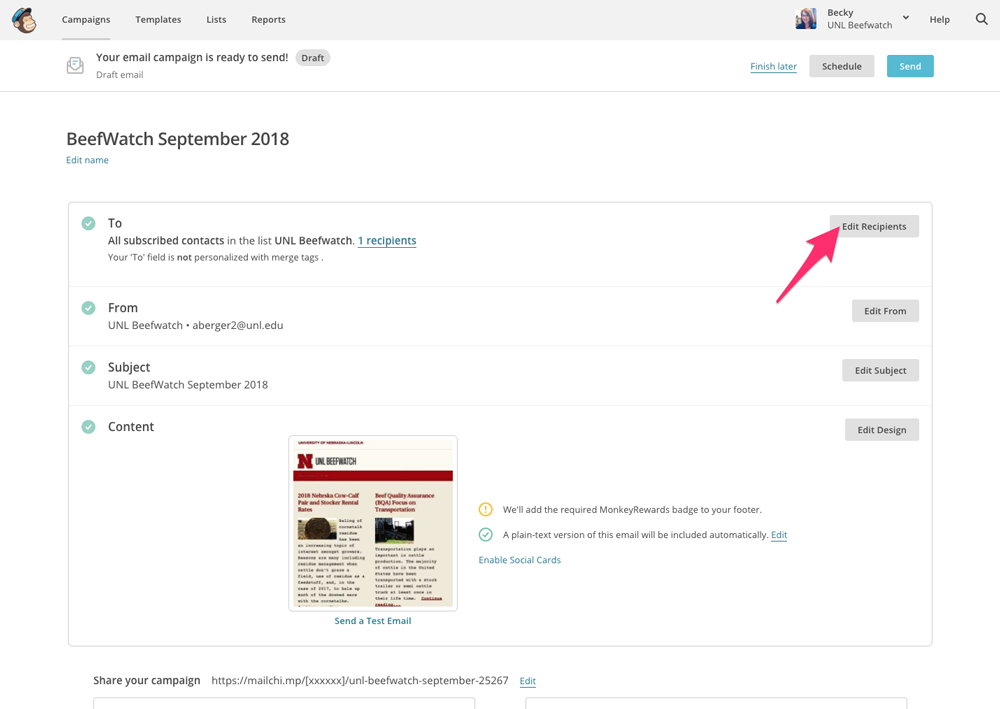
Check and see if the email is going to the correct list. If you need to change it to the Spanish contacts list, for example, click the "Edit Recipients" button to select that list and click "Save"
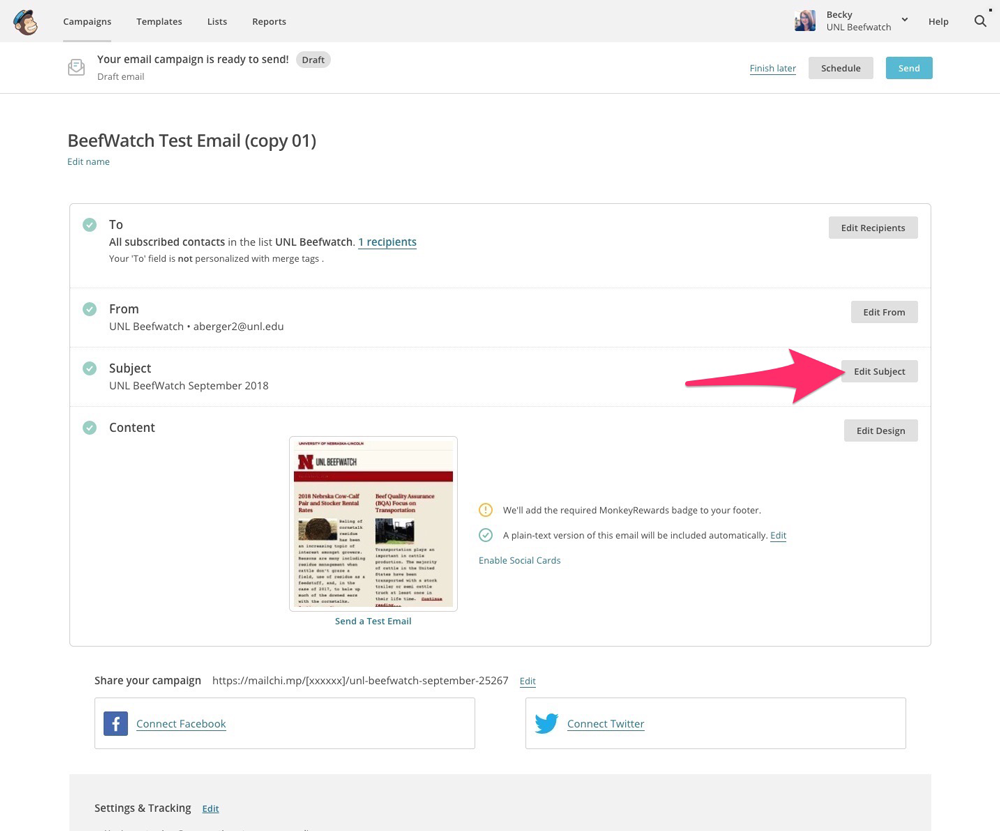
Click the "Edit Subject" button to edit the subject line with the correct month for the newsletter, then click "Save"
3. Add your email content
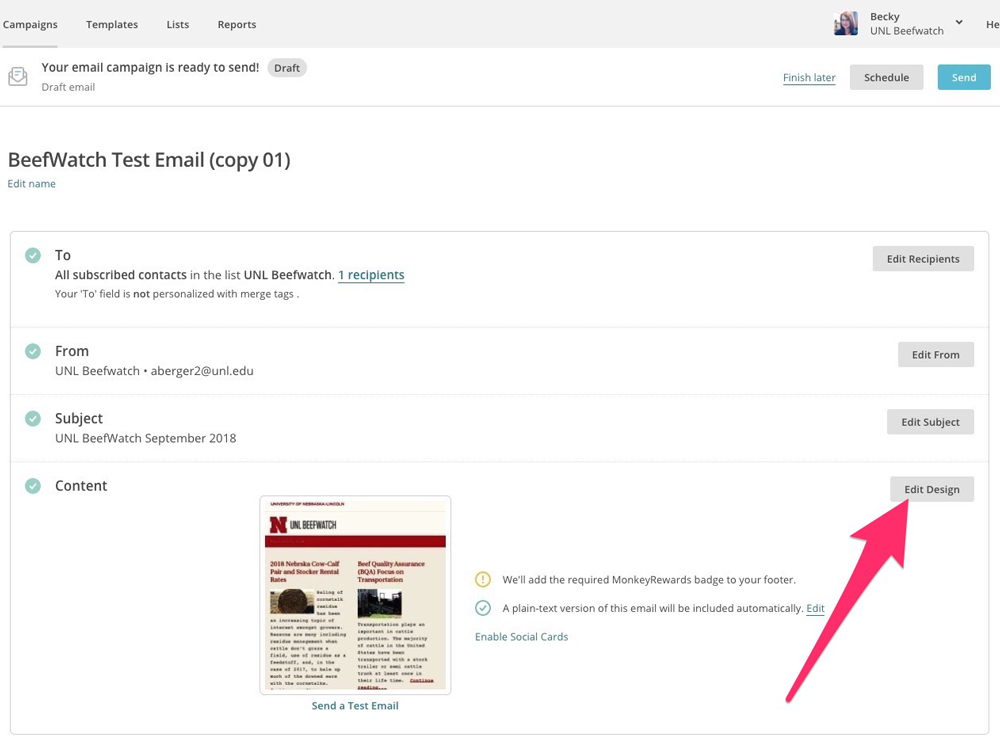
To add content to your email, click the "Edit Design" button

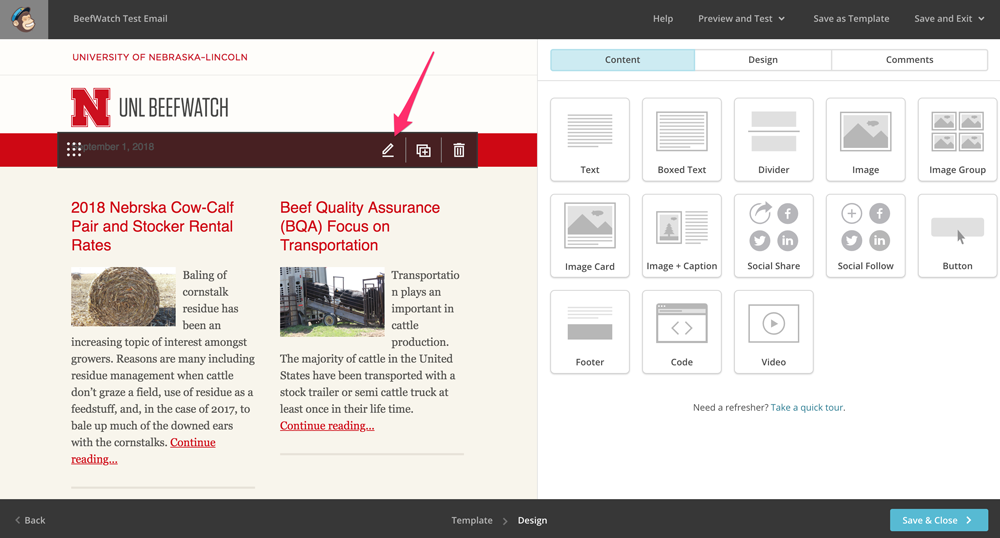
When you hover over a piece of content in an email newsletter, some control buttons will appear. A good first thing to do is to update the date in your newsletter. To do that, hover over the red date bar and click the white pencil icon on the right.
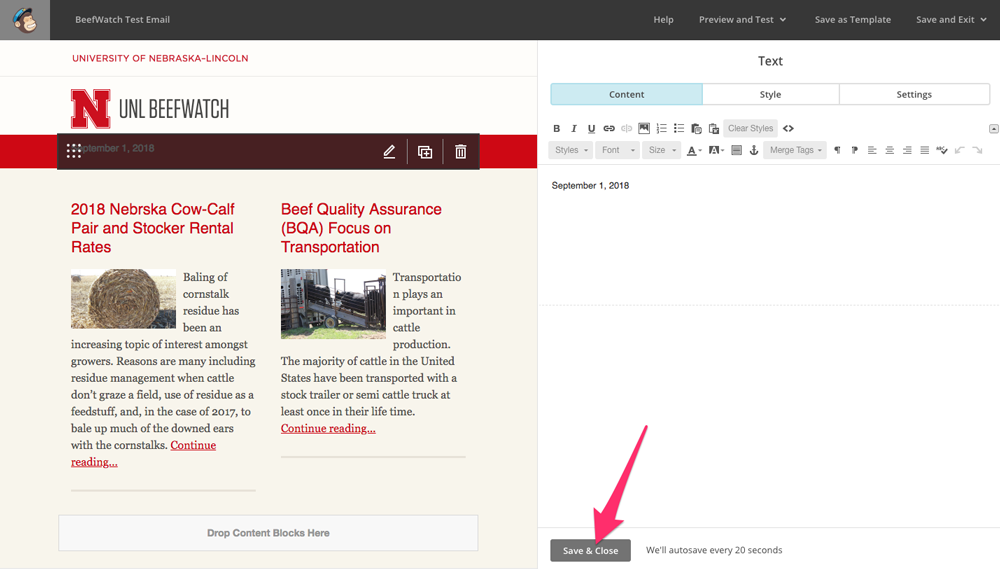
Update the text using the WYSIWYG editor on the right, then click the "Save and Close" button
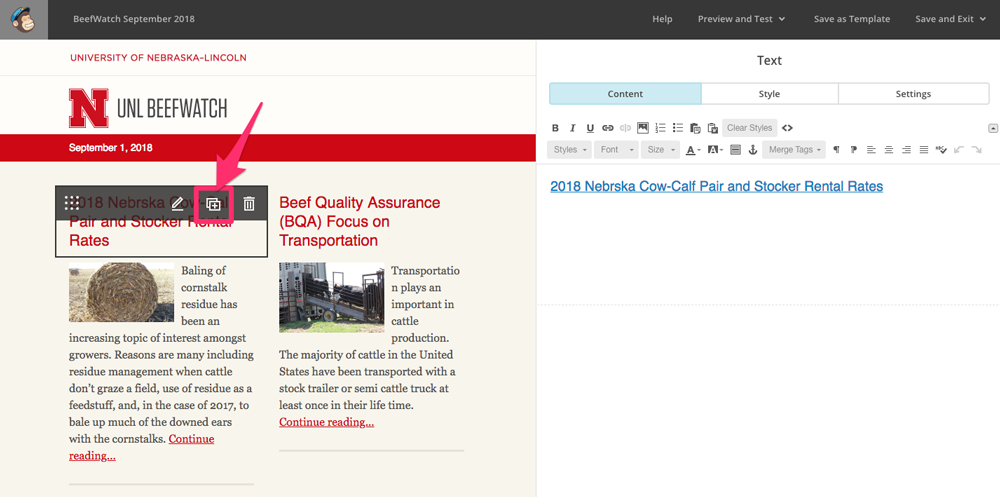
Next, it's a good idea to duplicate existing titles and article text in the newsletter rather than creating new ones from scratch. To do this, click the duplicate icon.
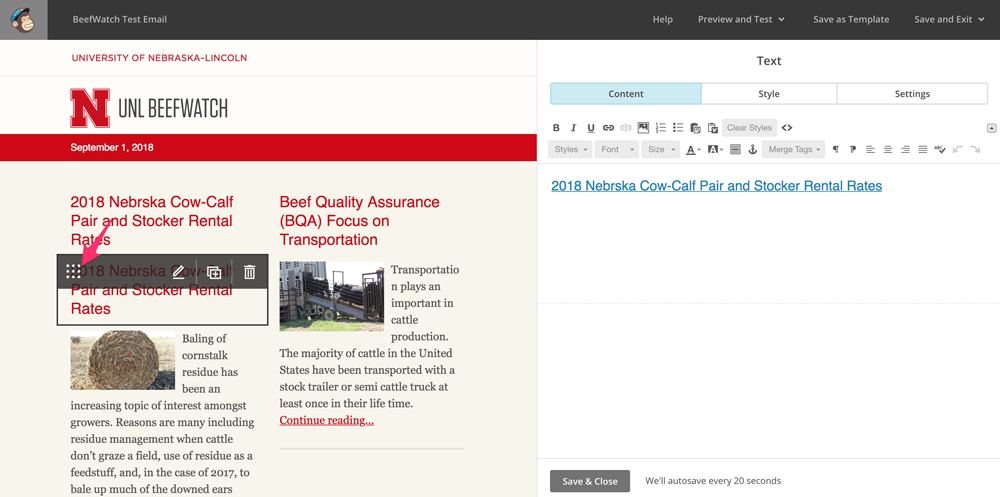
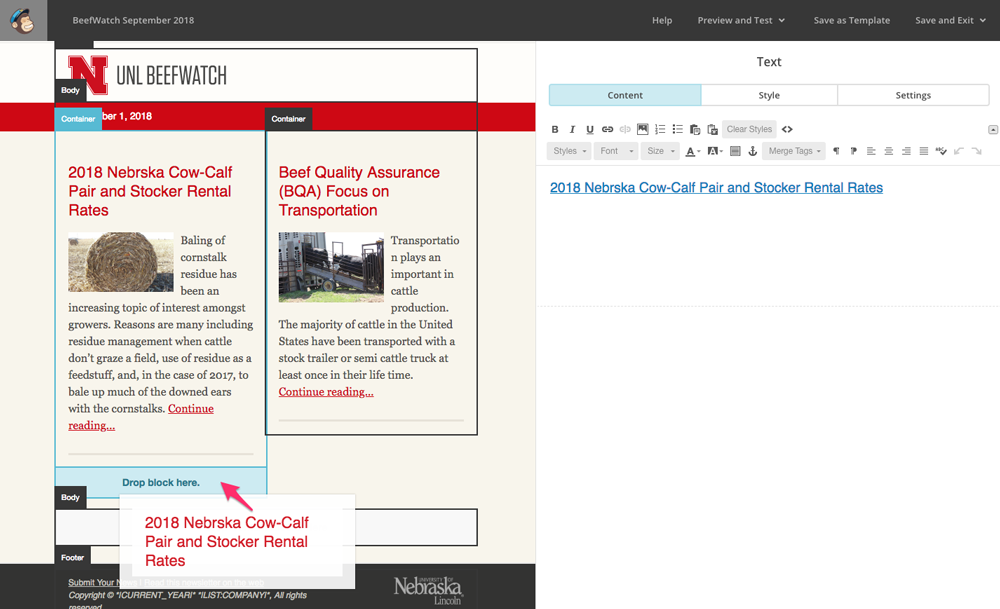
Once you have duplicated a piece of content, you can click the move icon over on the right and drag it to where you want it to go.
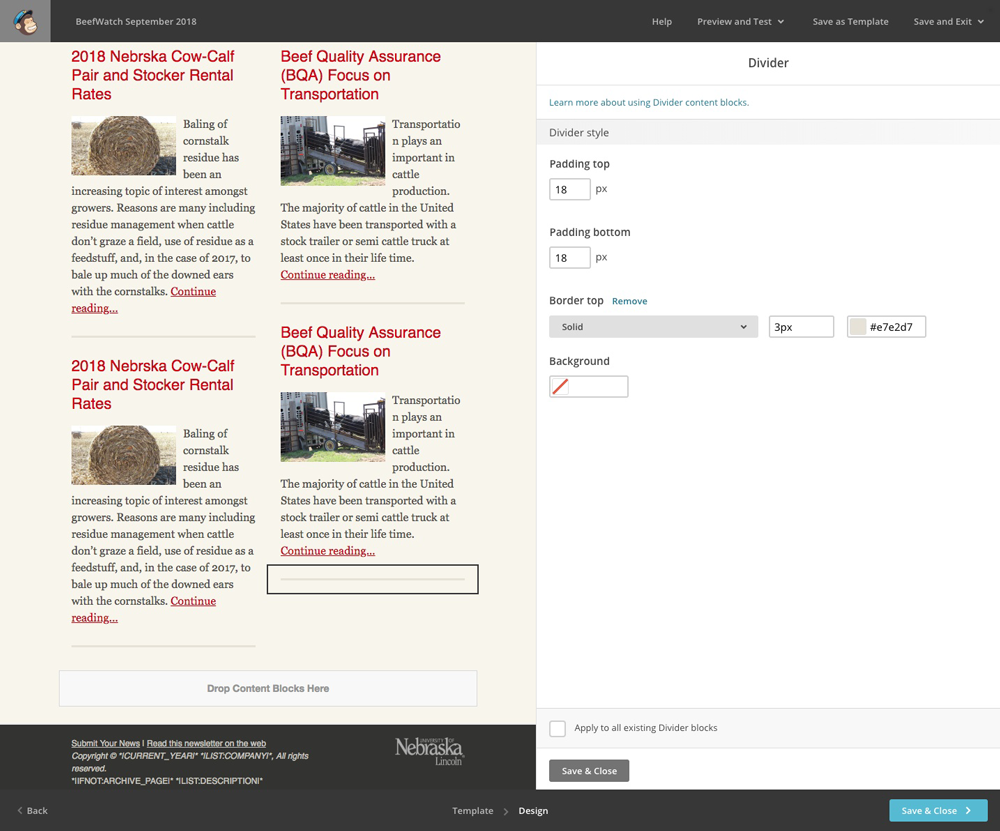
You will need to duplicate the title, article preview, and divider line for each article.
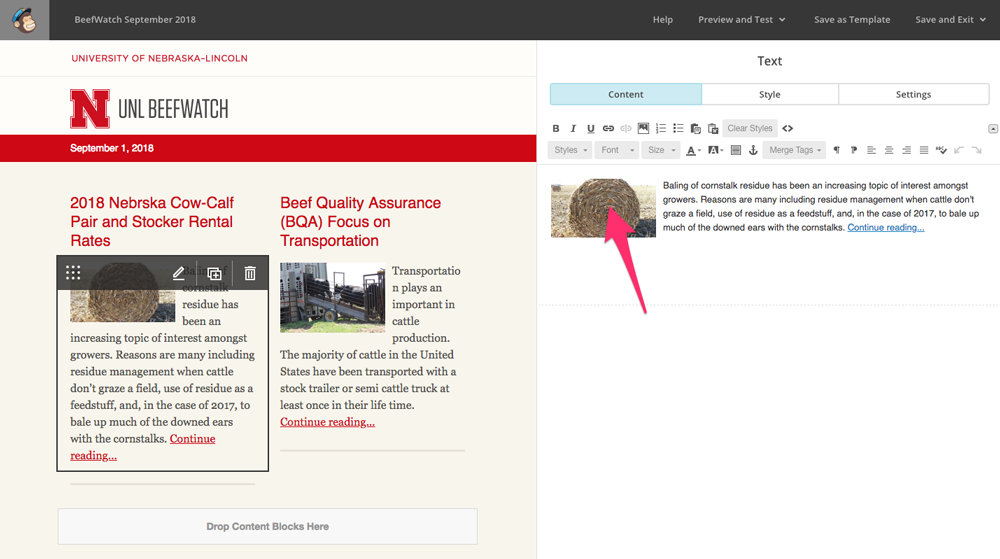
To replace an image, click on the image in WYSIWYG editor.

On the screen that shows you the image information, click the "Back to files" link at the top.
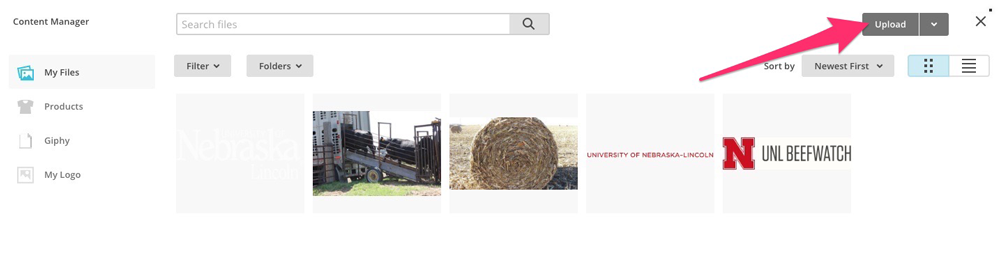
To upload a new image from your computer, click the "Upload" button in the top right and select the image from your computer.
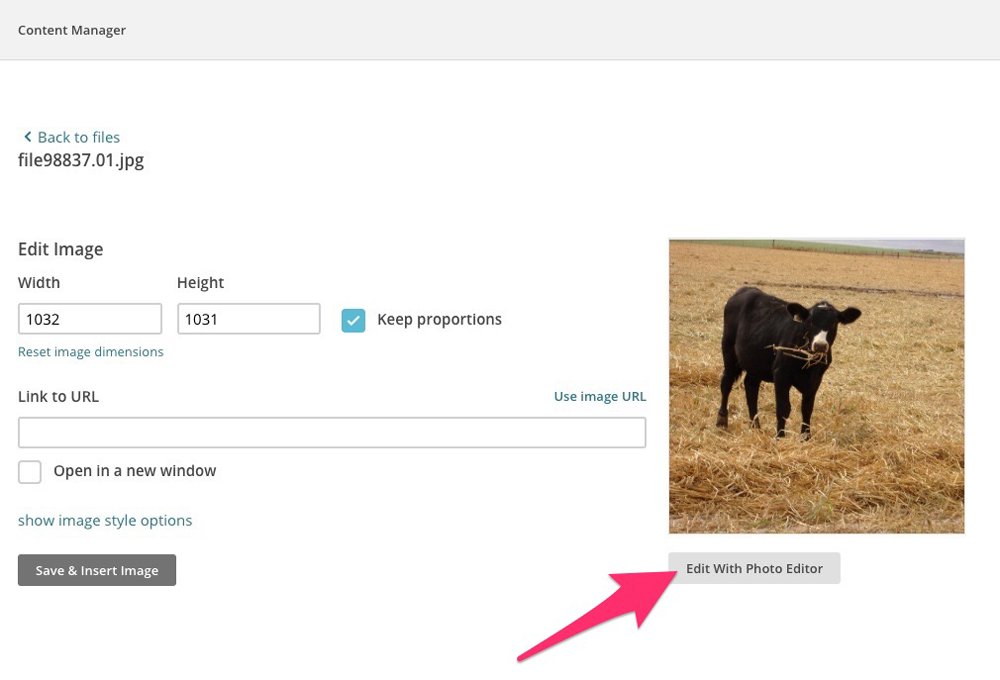
To resize your photo to match the size of other images in the email, click the "Edit with photo editor" button
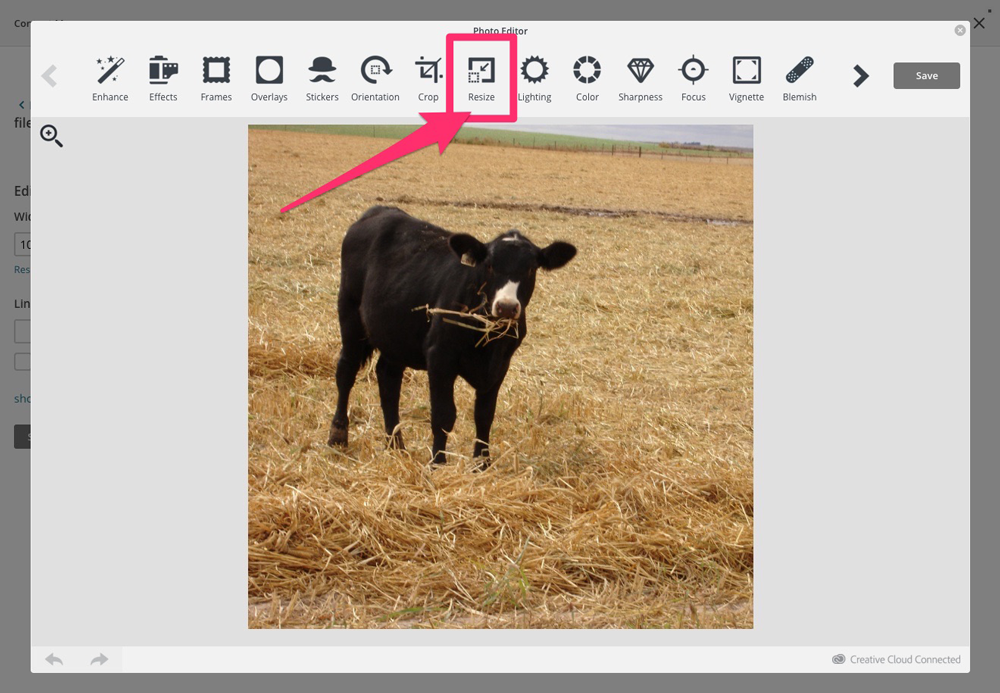
Click the resize button to enter your new image size
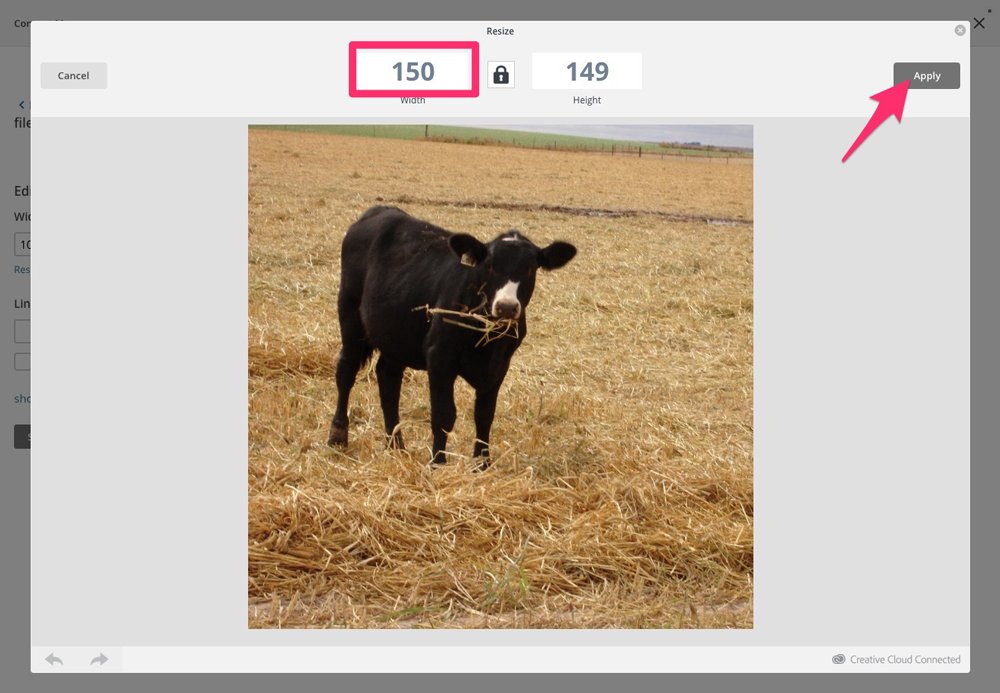
Enter your new image width (150px is recommended), then click "Apply"
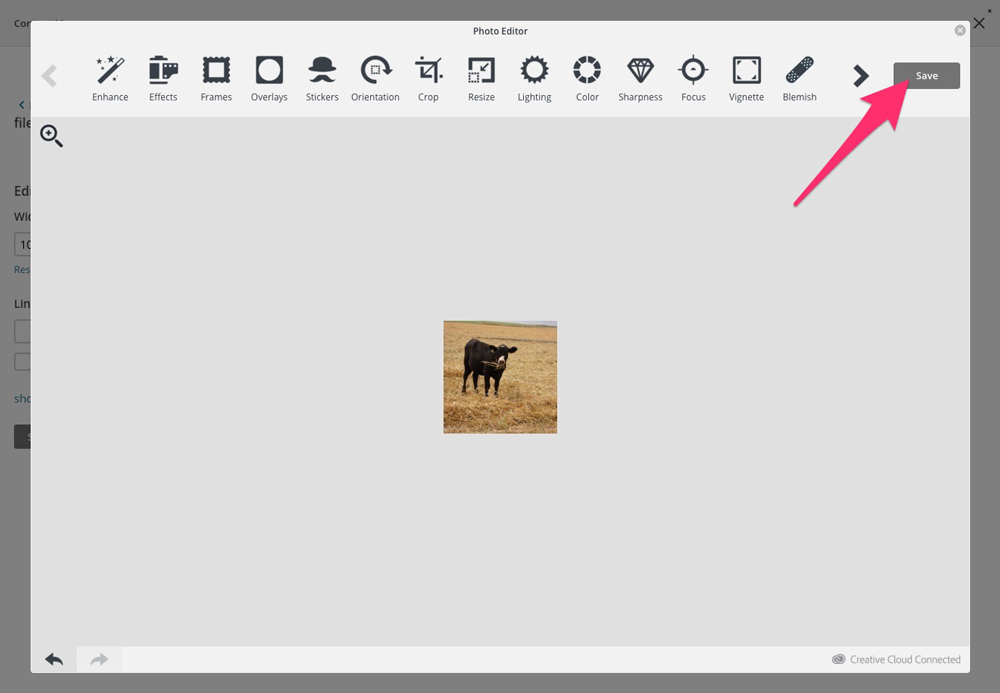
You should now see your image at the new smaller size. To continue, press "Save"
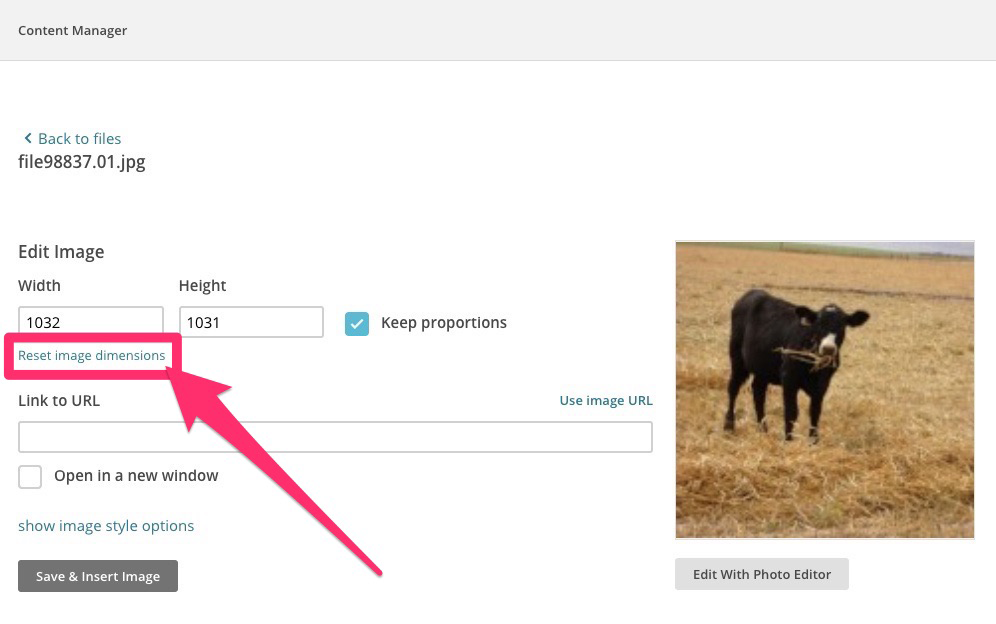
Your image will now look smaller on the info page, but the dimensions will be the same as when you uploaded it. To fix this, click "Reset image dimensions"
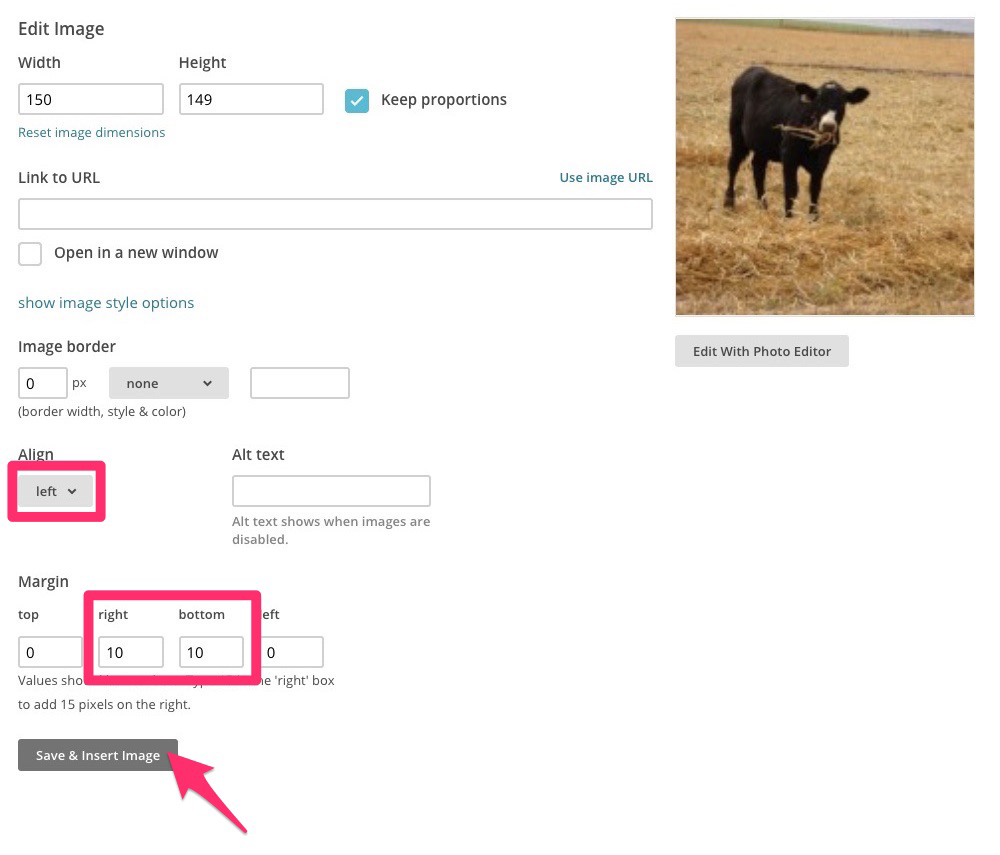
To make text wrap around your photo, click "show image style options." You can select "Left" under "Align," and enter a margin of 10 under the right and bottom so it will have spacing around it. When you are finished, click the "Save & Insert Image" button.
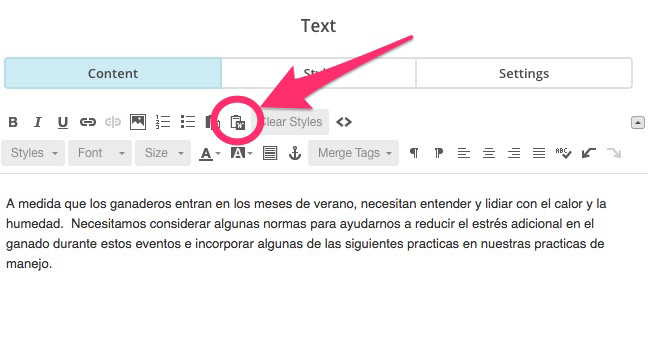
When you are pasting text content into your email, it is best to use the "Paste from Word" button in the WYSIWYG editor. This ensures that any extra styles either from Microsoft Word or the Beefwatch website do not get applied to the email.
4. Preview and test your email
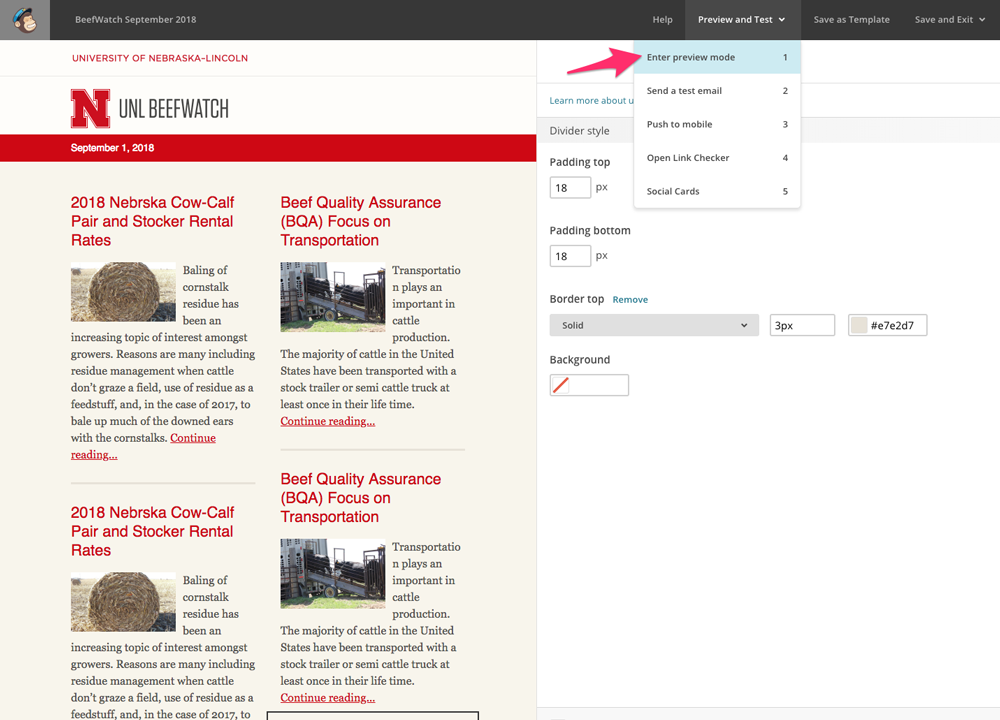
To preview your email in the browser, select "Enter preview mode" from the "Preview and Test" menu on the right.
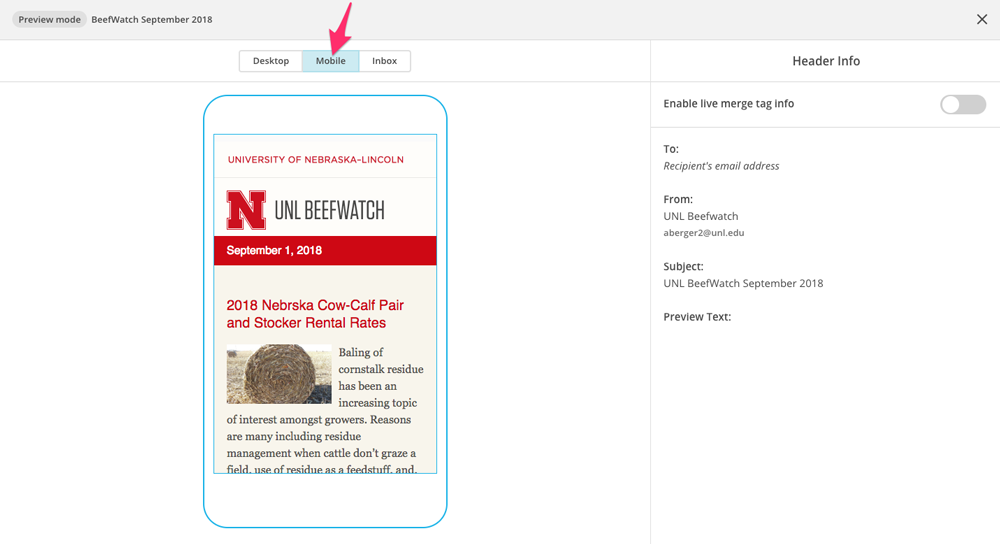
You can switch between the desktop and mobile views to see how your email will lay out on different devices. Press the X in the upper right hand corner to close.
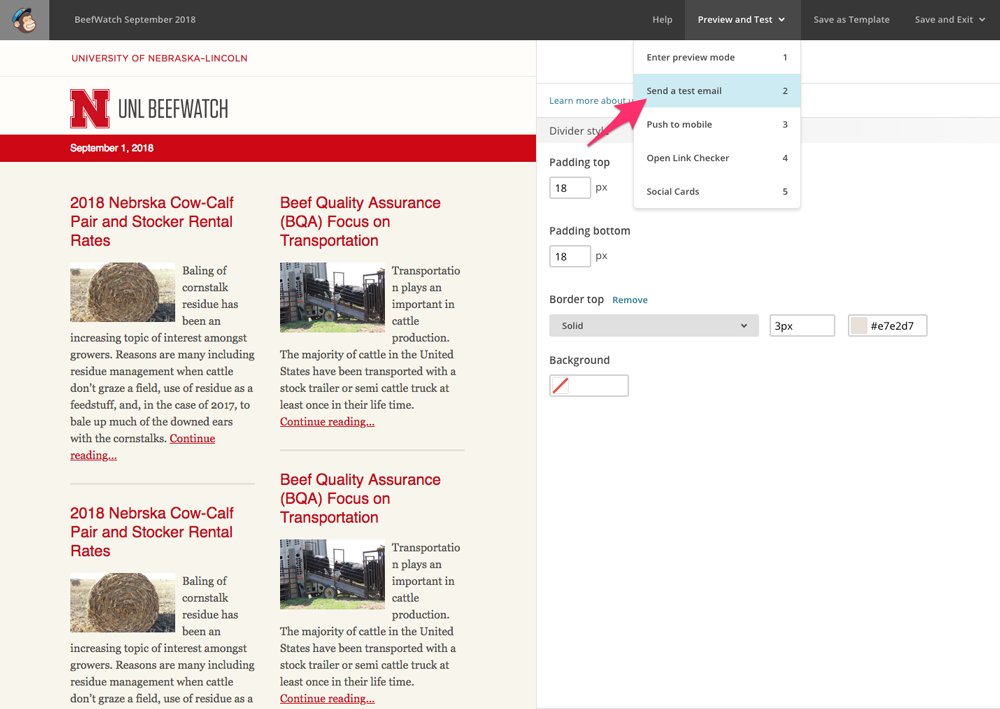
To send a test email to yourself or to other email addresses, select "Send a test email" from the "Preview and Test" menu on the right.
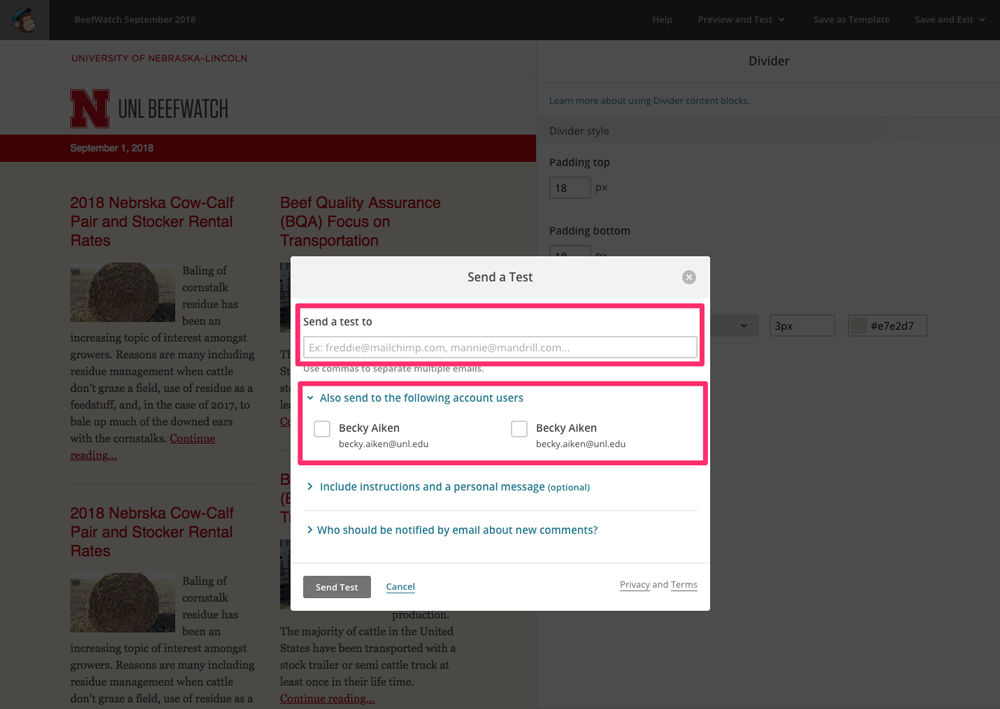
You can either enter comma-separated email addresses into the text box at the top, or you can select users from the BeefWatch MailChimp account by checking the box next to their name. Click "Send Test" when you are done.
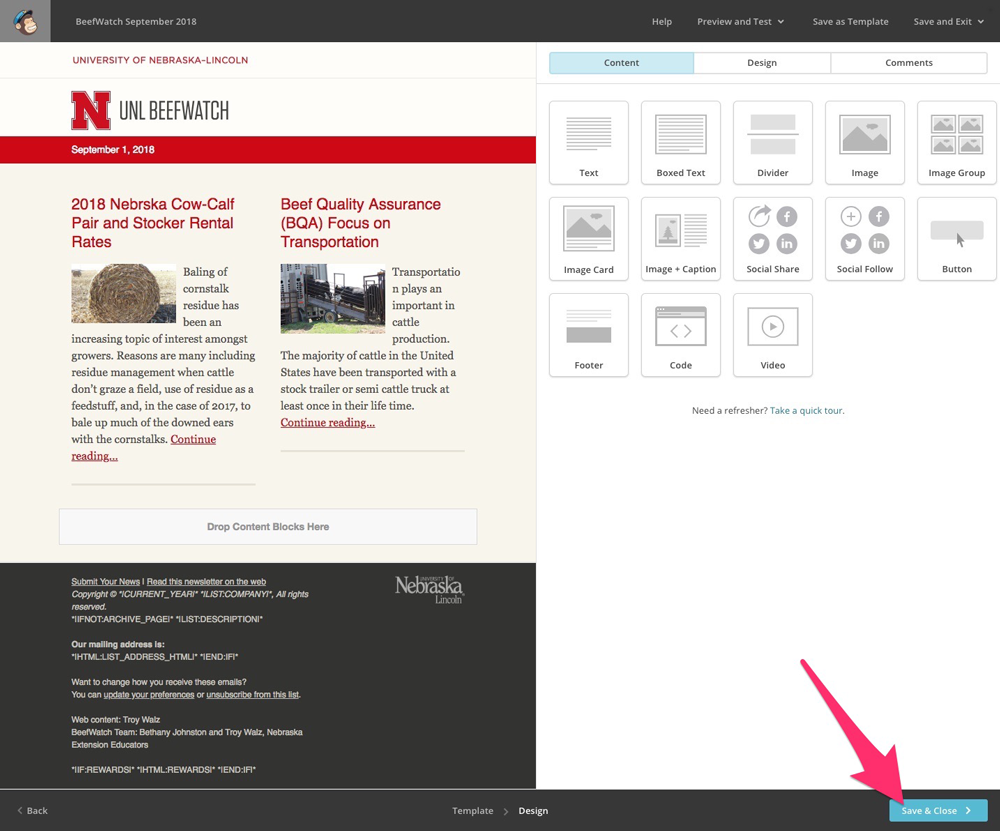
Click "Save & Close" in the bottom left to return to your campaign. MailChimp autosaves your email as you work on it, so you can save and close and return to it at any time.
5. Send your email
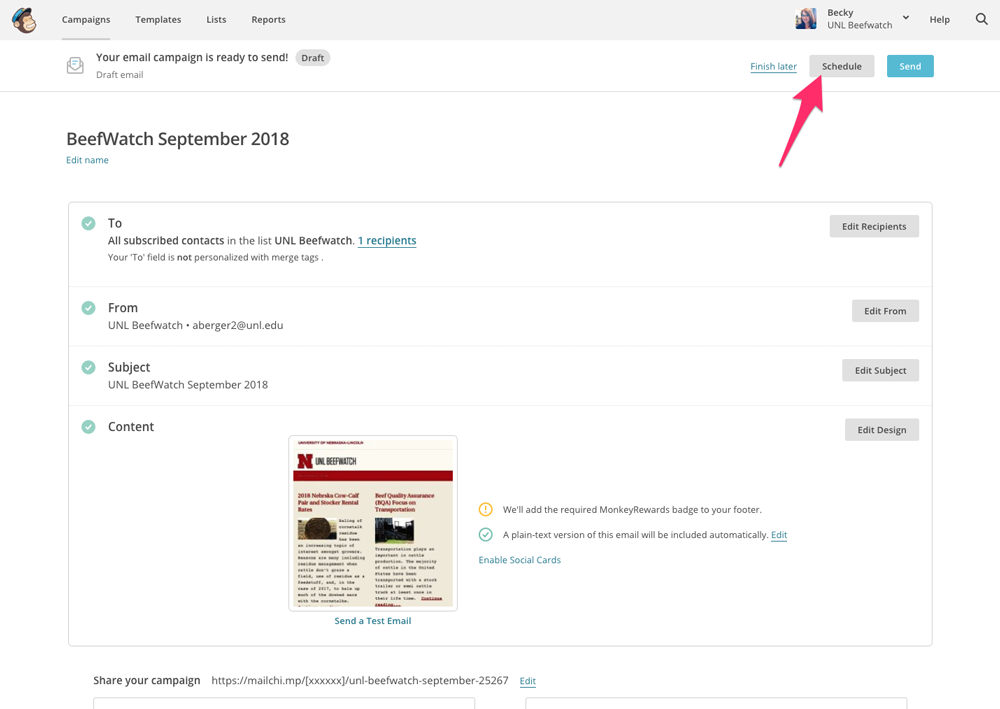
You can click "Send" at the top right of your campaign to send your email immediately, or you can click "Finish later" to return to the MailChimp dashboard. If you want to schedule your email to go out at a future date, click the "Schedule" button
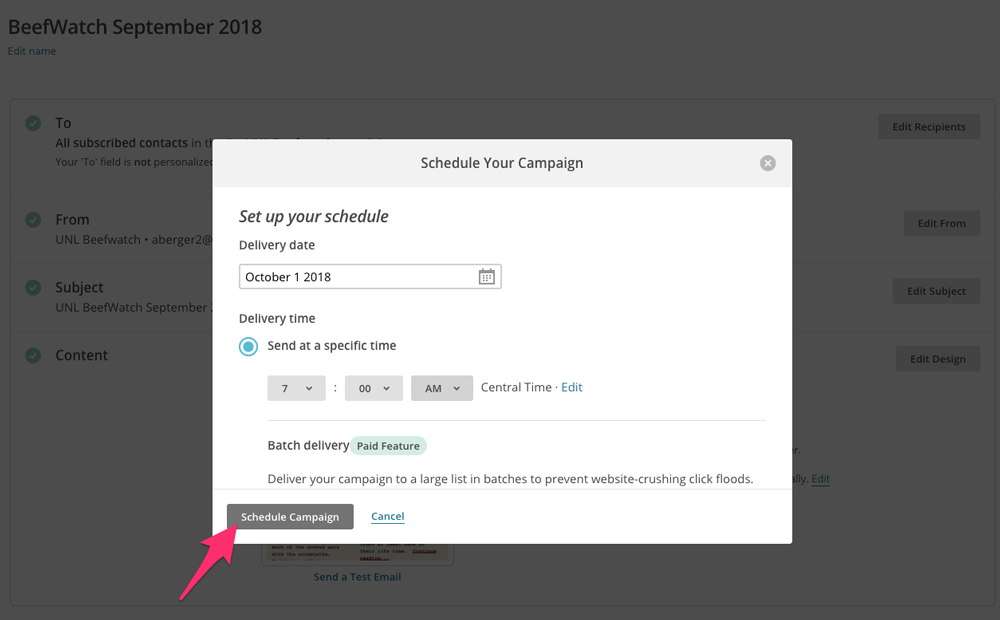
Set the date and time of your choice, then click "Schedule campaign." Congratulations, you've finished a BeefWatch newsletter!