How to add an article to BeefWatch
1. Login to the Beef website
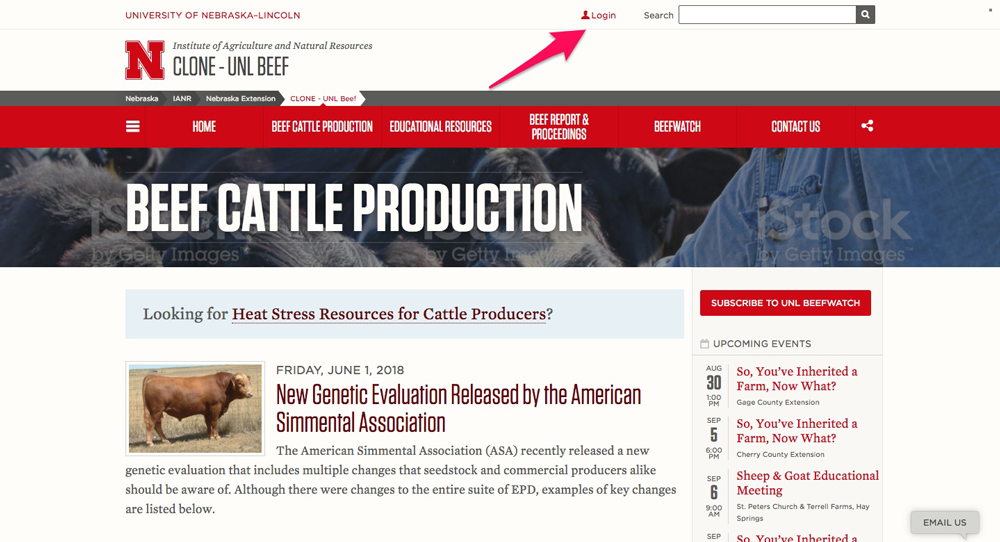
Go to the Beef website home page and click the "Login" button at the top.
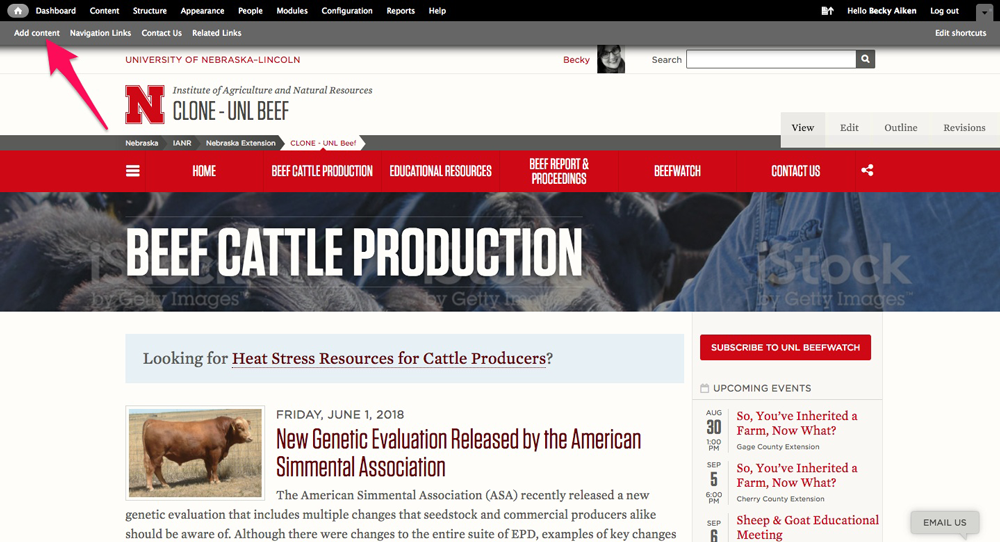
Once you are logged in, click the "Add Content" link in the top left hand corner in the black bar.
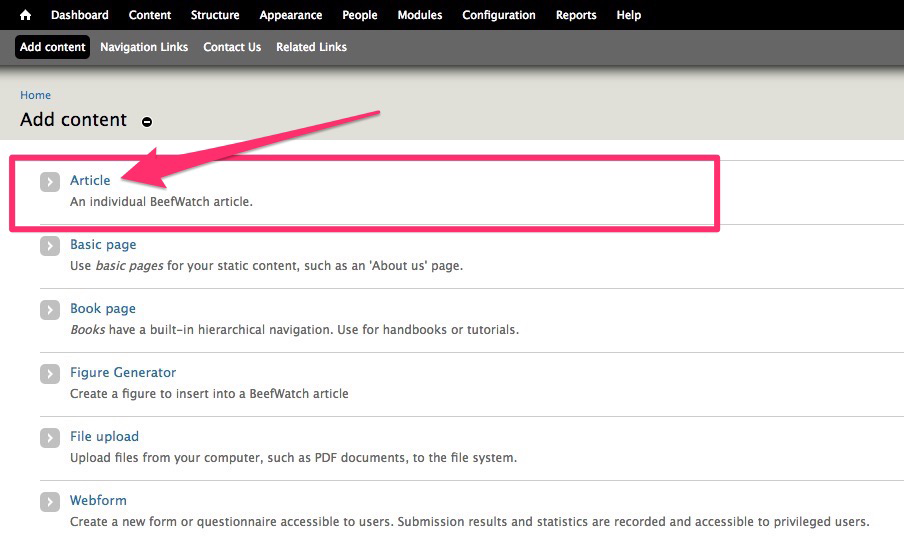
On the "Add Content" screen, select "Article."
2. Add your article content
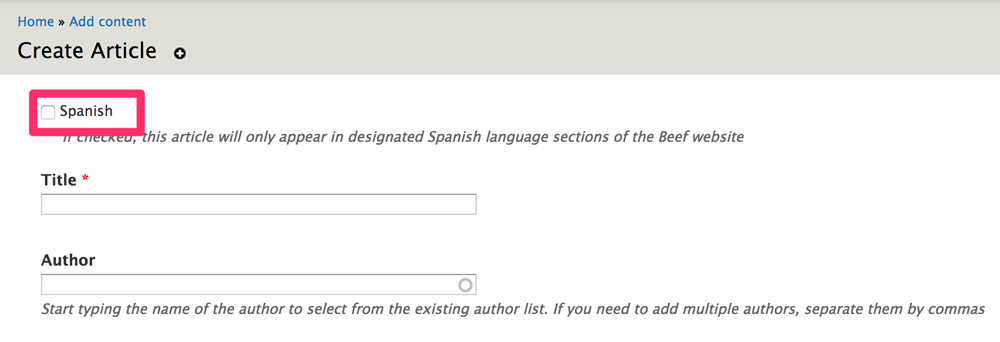
If your article is in Spanish, check the "Spanish" checkbox at the top. This ensures that the article will only appear in Spanish language sections of the Beef website.
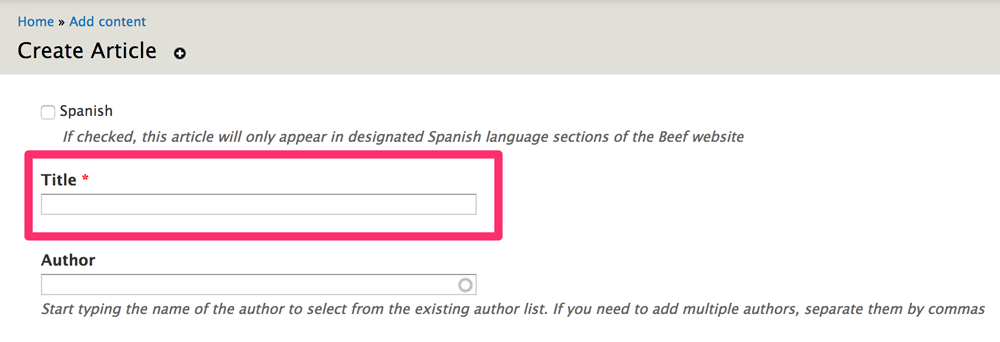
Add your title. This will display in conjunction with your article on the article page as well as on feeds throughout the site

Next, select the author for your article. When you start typing the name of your author, you can select them from the prepopulated author list.
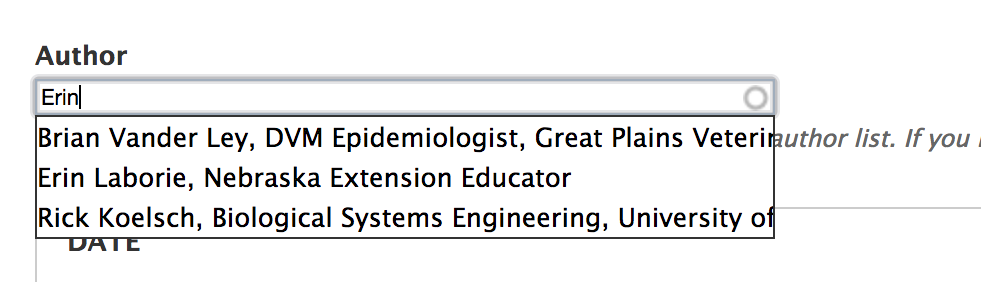
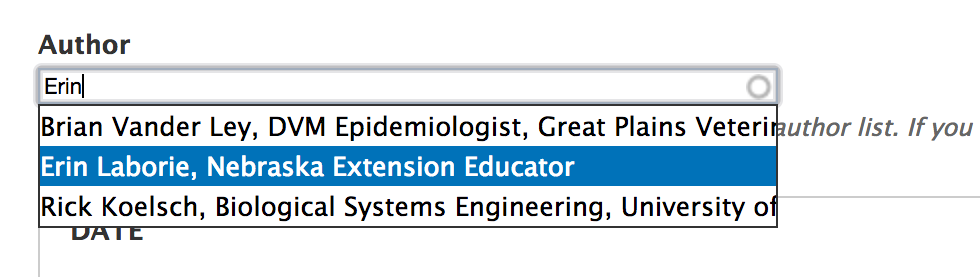
You can add multiple authors to your article, just separate their names by commas.
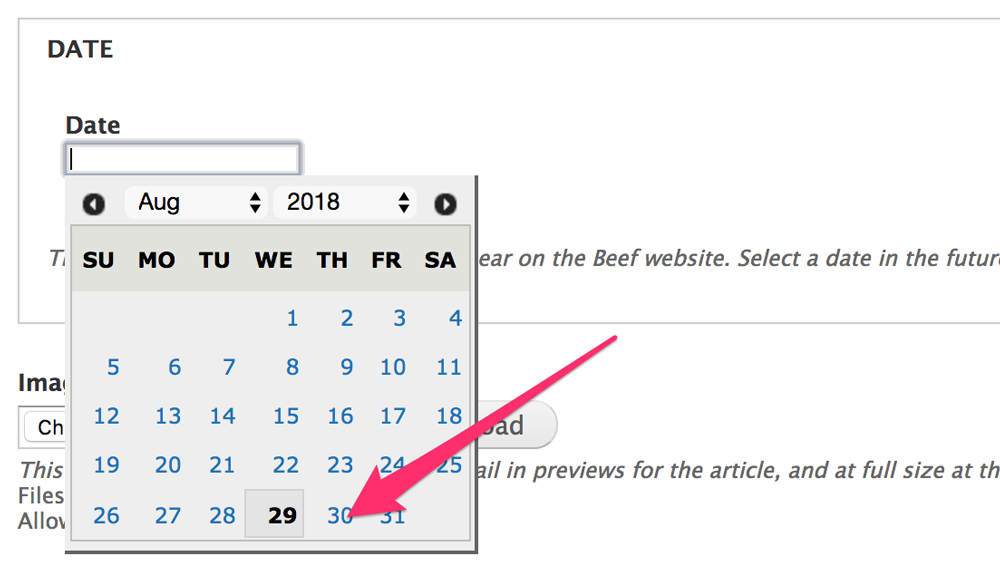
Select the date for your article using the popup calendar widget. You can select a date in the future if you want to set your article to be live at a future time.
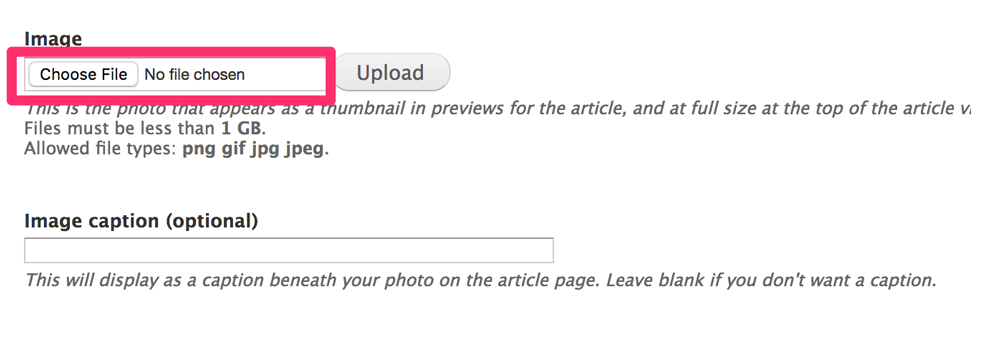
Upload an image for your article. The image you choose will display in article feeds throughout the site as a thumbnail image, and at its full size at the top of your image. An image size of around 800px wide is recommended. You will have the opportunity to add other images in your article if you wish, but this one will always appear at the top. If you don't want an image to go along with your article, leave this field blank.
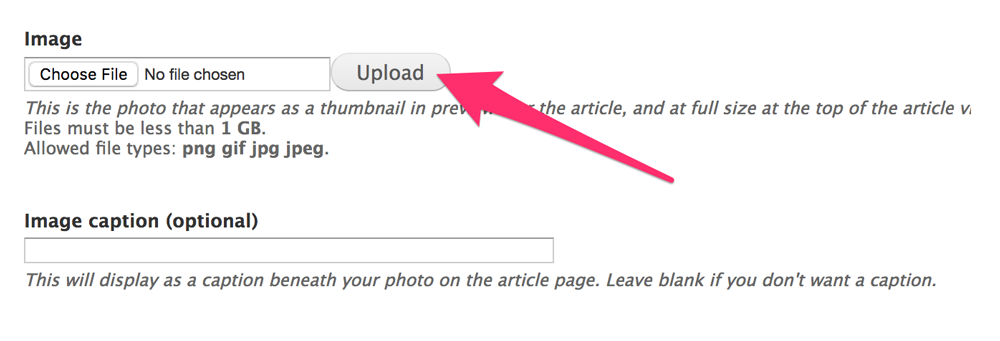
Once you have selected the photo from your computer that you want to use, click the upload button.
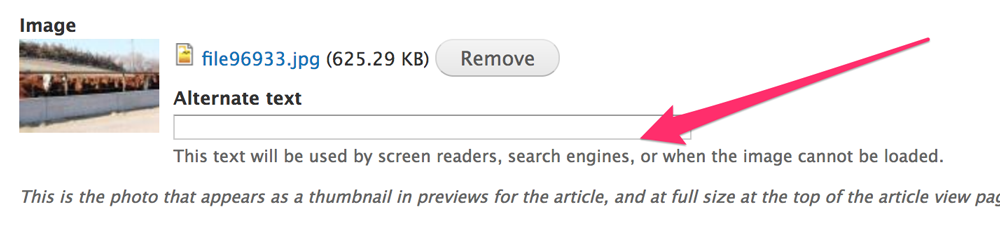
Once your image has uploaded, you will see a small preview of the photo. Enter a brief description of your photo in the "Alternate text" field. This will be used by screen readers for accessibility.
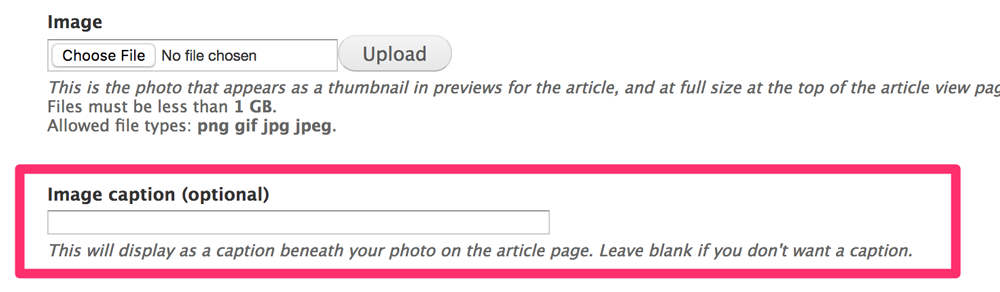
Optional: If you want your article to have a caption underneath the top photo, enter that text into this field.

Optional: If you want your article to have a thumbnail image on article feed pages, but don't want the same image to appear at the top of your article, check this checkbox to hide it. You may do this if you have a video at the top of your article and are using a video thumbnail that you don't want to appear twice.
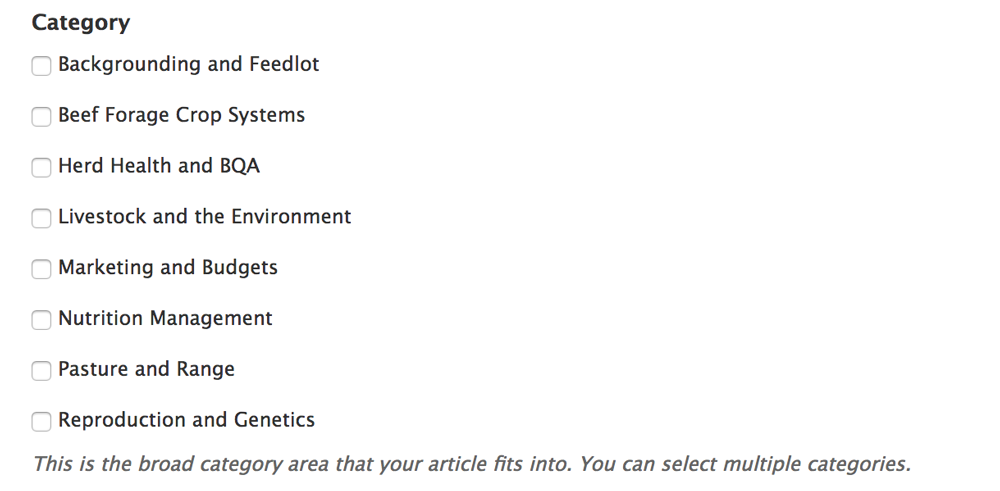
Select the category for your article. This should be the over-arching category that your article fits into. You can select multiple categories.

If there is a podcast link for your article, you can enter the URL here. You can get the links for the specific segments from the UNL BeefWatch Feedburner page. The URL should be something like: http://s3-us-west-2.amazonaws.com/unlbeefwatch/2018/Aug_2018_Larry_Howard.mp3
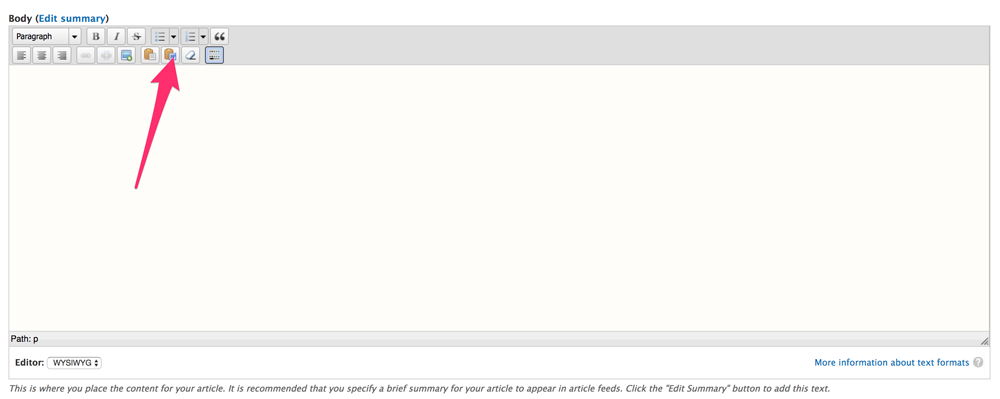
Now it's time to add your content! If you have written your article ahead of time in Microsoft Word and want to paste the content in, it's important that you click the Paste from Word button first.
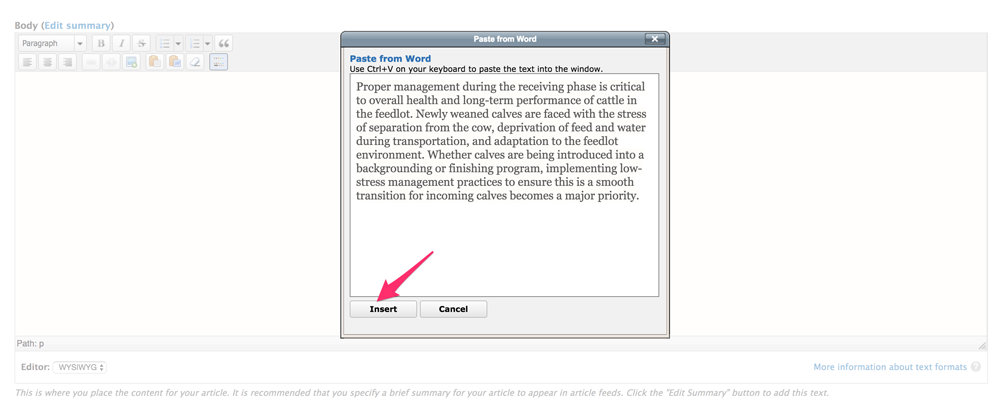
Once you click this button, a box will appear. Paste your content in and click "Insert." From here, you'll be able to work with your content in the WYSIWYG editor.
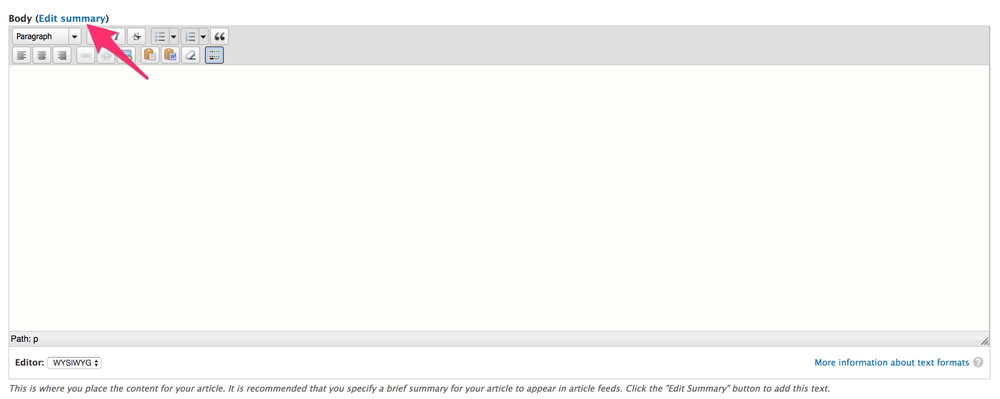
Click the "Edit Summary" link at the top of the WYSIWYG editor.
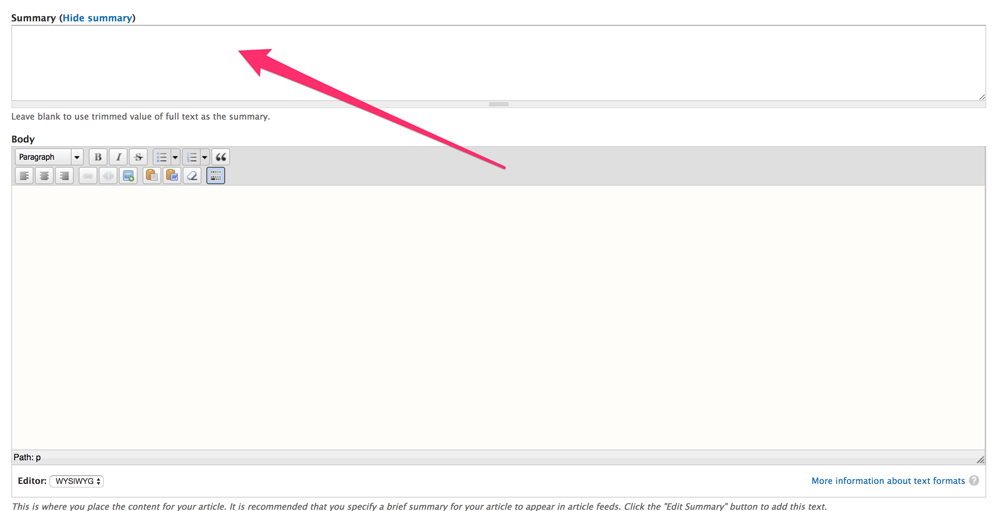
In the Summary box, enter a one or two sentence summary of your content. This will appear in article feeds throughout the side along with the title and thumbnail image.
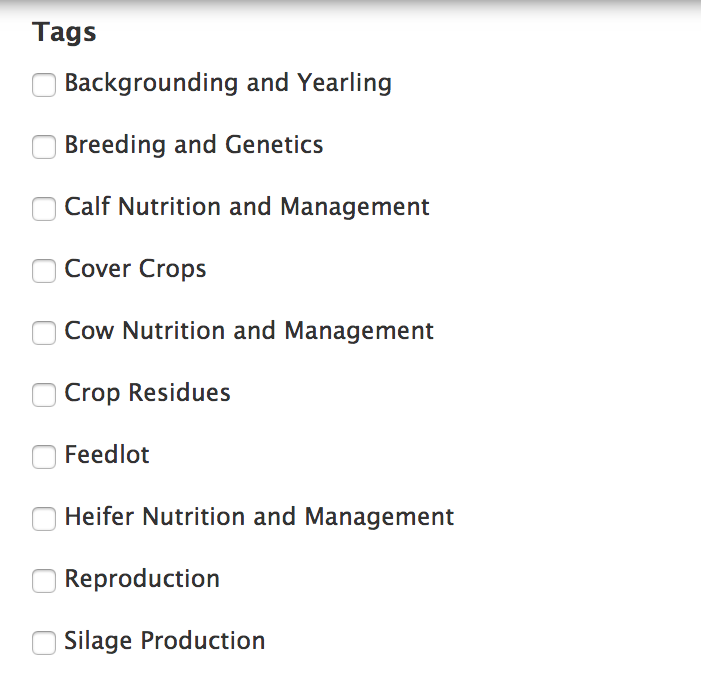
Select the tags for your article, if applicable. Tags are more specific ways of categorizing your article than the overarching categories. You can select multiple tags.
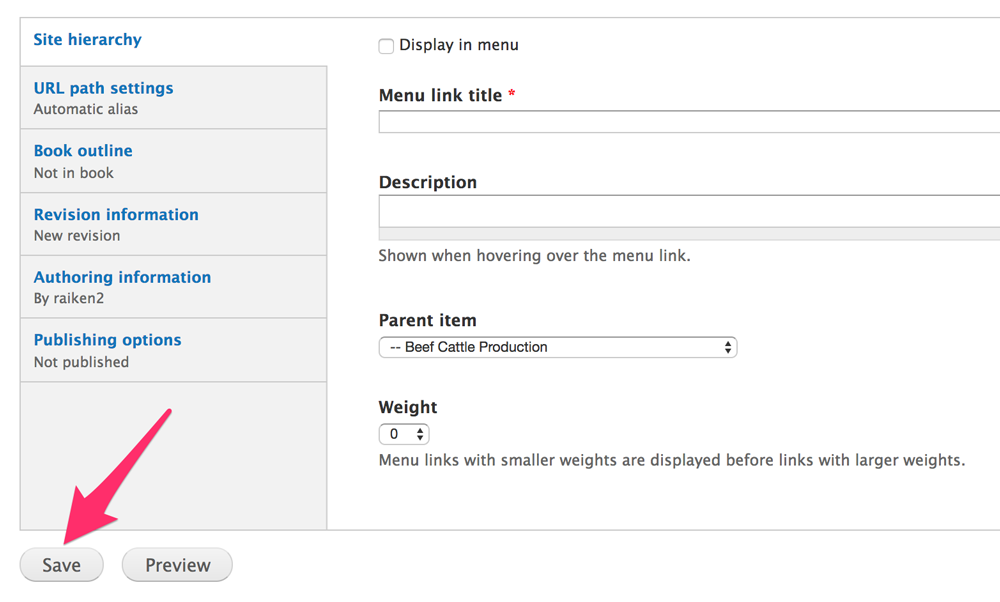
You are now at a point where you can save and preview your article. Scroll down to the bottom of the page and click the "Save" button.
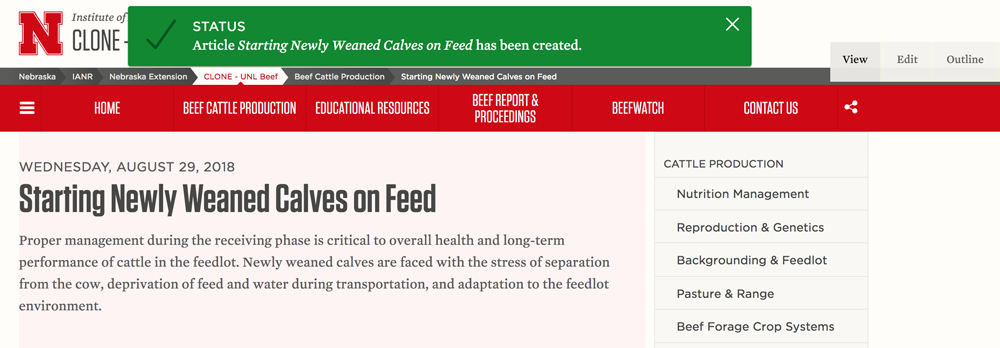
Once the page has saved, you will be taken to a preview of your article on the Beef website. Don't be alarmed by the pink background! This is an indication that the content you are viewing is not published and not viewable on the live website.
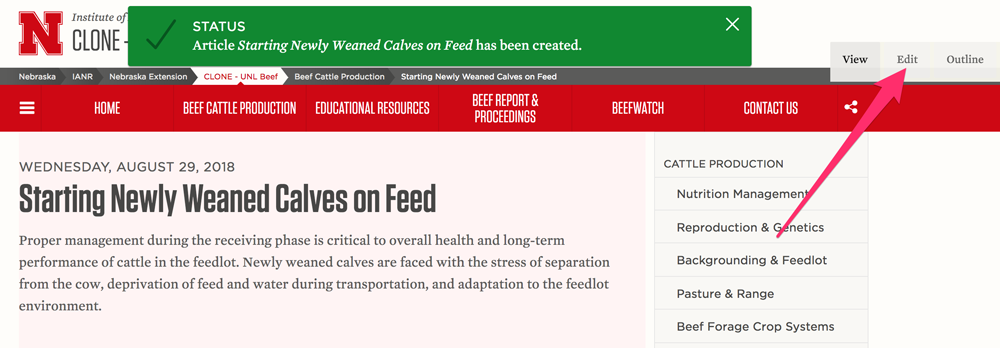
Once you've had a chance to ensure your content looks the way you want it to, click the "Edit" button at the top of the article preview page.
3. Publish your article
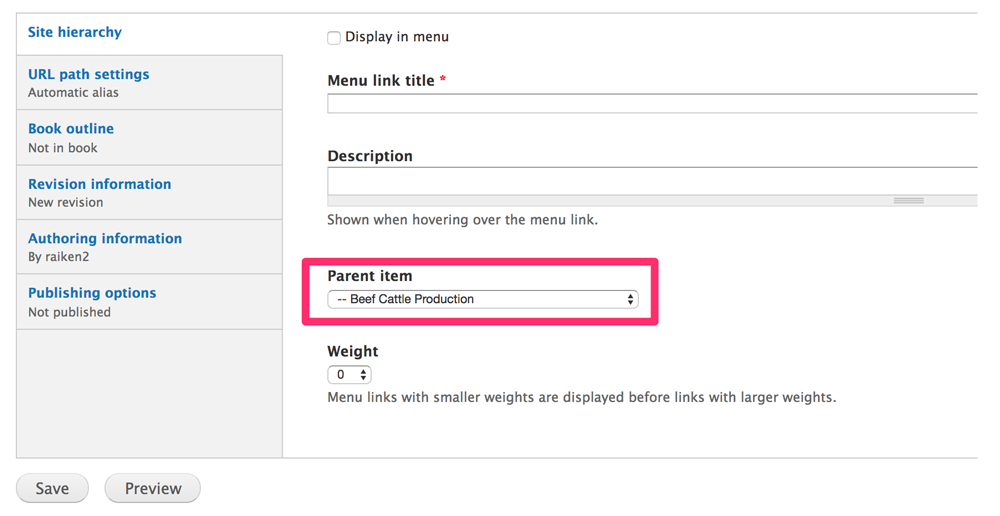
Towards the bottom of the page, select the "Parent Item" from the dropdown menu. This controls what menu appears as active on the right side of your article. It should be one of the primary categories, such as "Nutrition Management."
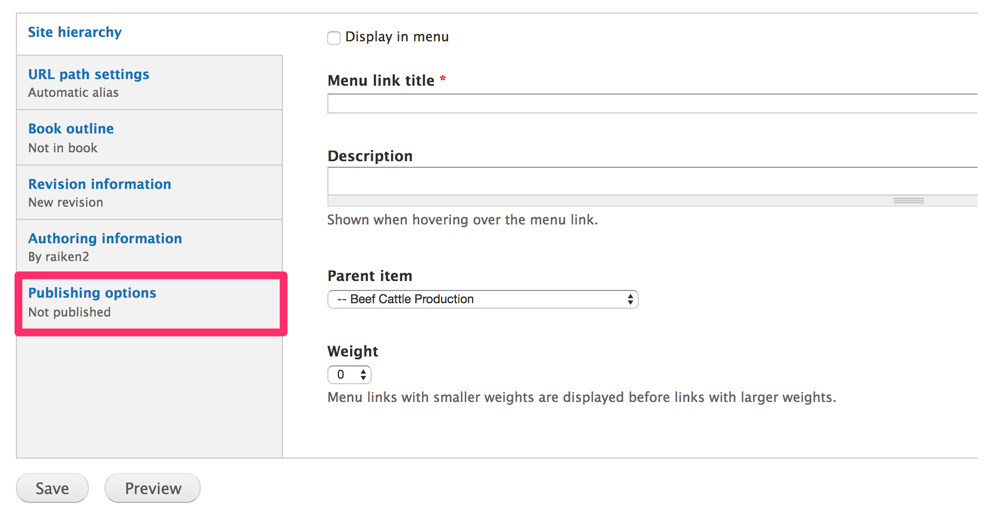
Click "Publishing Options" on the bottom left.
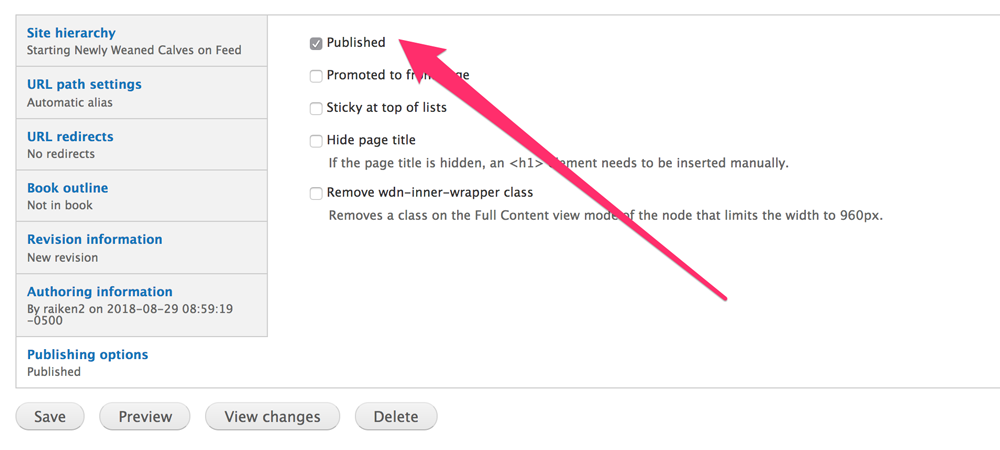
Click the published checkbox.
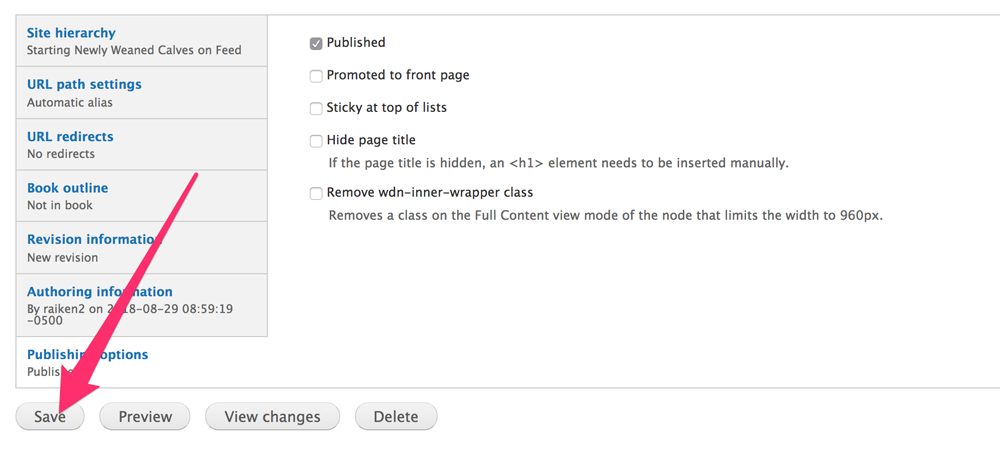
Click the save button again. Congratulations, you've published your article!